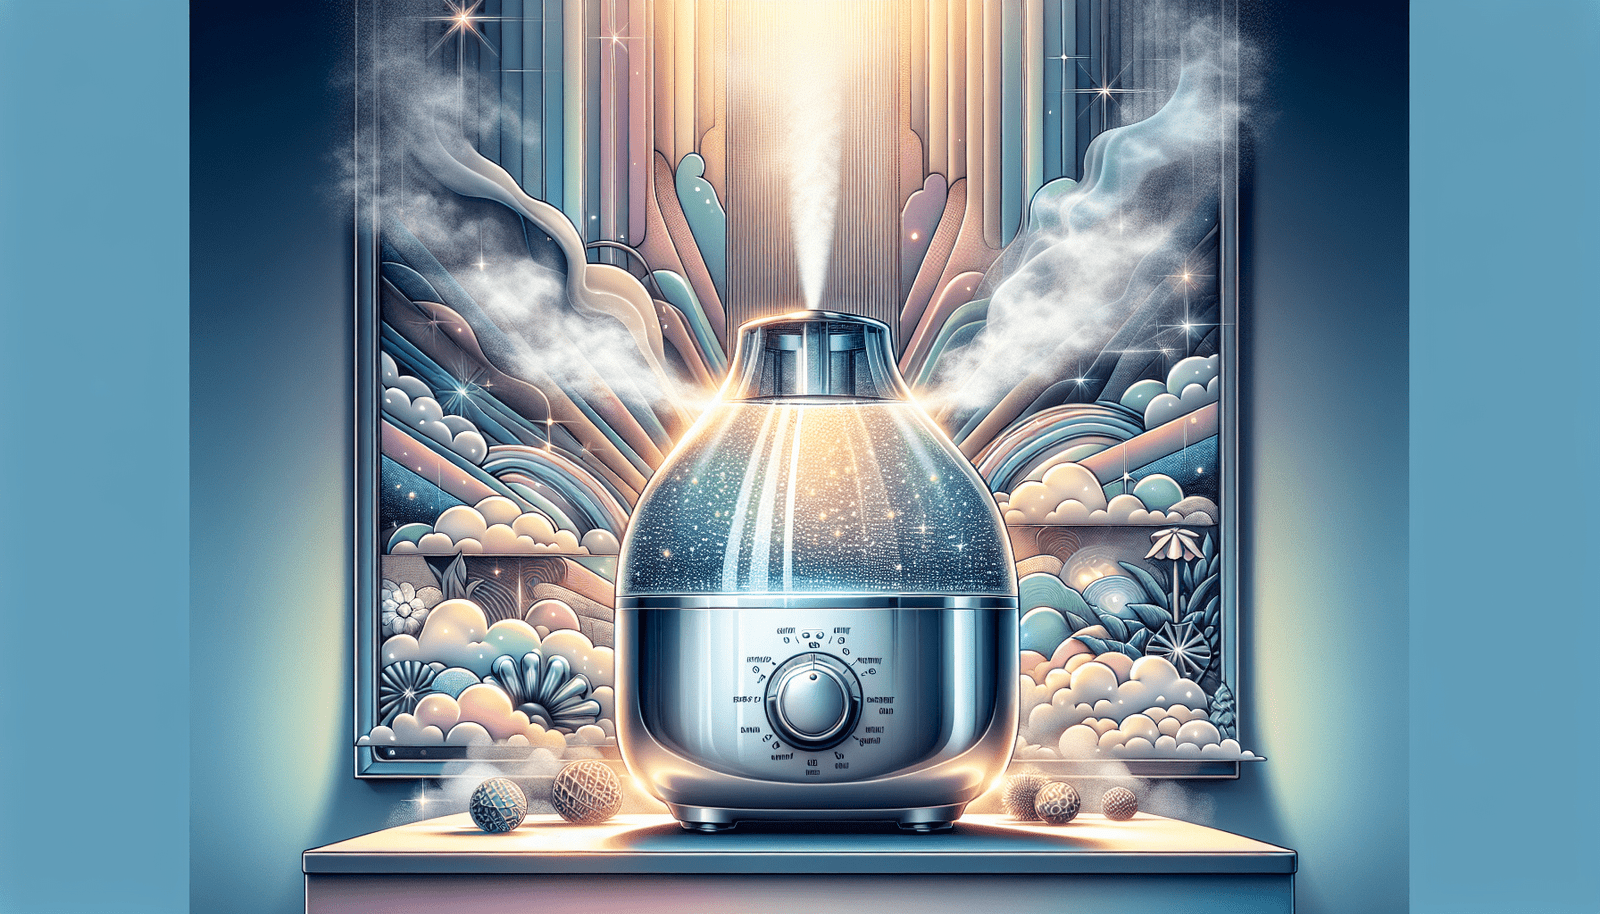
Maintaining a clean and healthy environment is essential, especially when it comes to the air we breathe. That’s why it’s important to know how often you should clean your humidifier and how to go about it. Cleaning your humidifier regularly not only ensures optimal performance, but also helps to eliminate any potential build-up of harmful bacteria or mold. In this article, we will explore the best practices for cleaning your humidifier, providing you with a comprehensive guide to keep your air fresh and your humidifier functioning at its best.
Cleaning Frequency
When it comes to cleaning your humidifier, the frequency depends on several determining factors. These factors include the type of humidifier you have, the quality of water you use, and the amount of use it gets. General guidelines can help you determine how often to clean your humidifier, but it’s essential to pay attention to any signs of dirt or buildup.
General Guidelines
As a general rule of thumb, it is recommended to clean your humidifier at least once a week. Regular cleaning helps prevent the growth of mold, bacteria, and other harmful microorganisms. However, if you notice any visible signs of dirt, mold, or mildew, it’s crucial to clean your humidifier immediately, regardless of when its last cleaning was.
Frequency for Different Types of Humidifiers
Different types of humidifiers may require varying cleaning frequencies. Here’s a breakdown:
-
Ultrasonic Humidifiers: These humidifiers use ultrasonic vibrations to create a fine mist. They are known for their quiet operation. Ultrasonic humidifiers should be cleaned once a week to prevent the buildup of mineral deposits and potential microbial growth.
-
Evaporative Humidifiers: These humidifiers use a fan to blow air through a moistened wick or filter. Since the water evaporates naturally, mineral deposits are less likely to occur. Cleaning these humidifiers once every two weeks is generally sufficient. However, if you notice any signs of dirt or mold, clean it immediately.
-
Steam Humidifiers: Steam humidifiers produce steam by boiling water. Due to the high temperatures involved, microbial growth is less likely to occur. However, it is still essential to clean them every two weeks to ensure optimal performance and prevent any buildup of minerals or impurities.
Materials Needed for Cleaning
Before you begin cleaning your humidifier, gather a few materials that will make the process more effective:
-
Distilled Water or Vinegar: Distilled water is recommended for cleaning your humidifier as it is free from minerals. If distilled water is not available, you can use white vinegar as an alternative. Vinegar helps remove mineral deposits and disinfect the humidifier.
-
Soft Brush or Cloth: A soft brush or cloth is essential for scrubbing away any stubborn dirt or mineral deposits. Avoid using abrasive materials that could damage the humidifier’s surfaces.
-
Mild Soap or Cleaning Solution: In addition to vinegar, you might need a mild soap or cleaning solution for thorough cleaning. Make sure to choose a gentle, non-toxic cleaner that is compatible with your humidifier.
Steps to Clean a Humidifier
Now that you have gathered the necessary materials, let’s walk through the steps to clean your humidifier effectively:
1. Unplugging and Disassembling
Before you start cleaning, ensure that your humidifier is unplugged and turned off. Remove any detachable parts, such as the water tank, mist nozzle, and filters if applicable. Refer to your humidifier’s manual for specific instructions on disassembling.
2. Emptying and Cleaning the Water Tank
Pour out any remaining water from the tank and rinse it thoroughly under running water. Use a soft brush or cloth to scrub away any dirt or mineral deposits. If there are stubborn stains or mineral buildup, you can soak the tank in a mixture of water and vinegar or a mild cleaning solution. Rinse the tank thoroughly after cleaning.
3. Cleaning the Humidifier Base
Using a soft brush or cloth, gently clean the base of your humidifier. Pay close attention to any areas where dirt or mineral deposits may accumulate. If there are stubborn stains, use a mild soap or cleaning solution. Rinse the base thoroughly and ensure no residue is left behind.
4. Cleaning the Mist Nozzle
If your humidifier has a mist nozzle, clean it by using a soft brush or cloth soaked in vinegar or a cleaning solution. Remove any mineral deposits or dirt buildup. Rinse the nozzle thoroughly to ensure it is clean and free from any residue.
5. Wiping Down Exterior Surfaces
Using a damp cloth, wipe down the exterior surfaces of your humidifier. Remove any dust or dirt that may have accumulated. Dry the surfaces with a clean cloth to prevent moisture buildup.
6. Rinsing and Drying
Once all the parts and surfaces are cleaned, rinse them thoroughly with clean water. Ensure there is no soapy residue left behind. Allow all the components to air dry completely before reassembling the humidifier.
Deep Cleaning
In addition to regular cleaning, it is essential to deep clean your humidifier periodically. Deep cleaning involves removing scale deposits, descaling the humidifier, and cleaning or replacing filters. This helps maintain optimal performance and prolong the lifespan of your humidifier.
1. Removing Scale Deposits
Scale deposits can occur due to mineral content present in the water. To remove scale deposits, you can soak the affected parts (such as the water tank or mist nozzle) in a solution of vinegar and water. This solution helps dissolve the mineral deposits, making them easier to remove.
2. Using Descaling Solutions
If the scale deposits are severe, you might need to use a descaling solution specifically designed for humidifiers. Follow the manufacturer’s instructions for the proper usage and application of the descaling solution. Ensure thorough rinsing after descaling to remove any residue.
3. Cleaning and Replacing Filters
If your humidifier has filters, they need regular maintenance. Follow the manufacturer’s guidelines for cleaning or replacing the filters. Clean filters help ensure clean and healthy mist output while reducing the chances of mold or bacteria growth.
Preventive Maintenance Tips
To maintain a clean and well-functioning humidifier, consider these preventive maintenance tips:
1. Using Distilled Water
Using distilled water helps minimize mineral deposits in your humidifier. Distilled water is free from minerals, reducing the chances of build-up. If distilled water is not readily available, you can use demineralized or purified water instead.
2. Regularly Changing Filters
If your humidifier has filters, it’s crucial to follow the manufacturer’s recommendations for filter replacement. Regularly changing filters ensures that your humidifier continues to operate efficiently while providing clean, fresh mist.
3. Cleaning Removable Parts
Along with regular cleaning, periodically clean and disinfect any removable parts of your humidifier. This includes the water tank, mist nozzle, and any other detachable components. Regular maintenance prevents the accumulation of dirt, mold, and bacteria.
4. Avoiding Overfilling
When refilling your humidifier’s water tank, avoid overfilling. Overfilling can lead to water spills and potential damage to the humidifier. Follow the manufacturer’s instructions regarding water level recommendations.
5. Keeping the Area Around Clean
Maintain a clean surrounding area where your humidifier is placed. Dust and dirt in the vicinity can be drawn into the humidifier, affecting its performance and cleanliness. Regularly dust the area and ensure proper ventilation.
Signs of a Dirty Humidifier
Keeping an eye out for the following signs can help you determine if your humidifier needs cleaning:
1. Visible Mold or Mildew
If you notice any dark spots or patches of mold or mildew inside your humidifier, it is essential to clean it immediately. Mold or mildew can pose a health risk and diminish the quality of the mist produced.
2. Foul Odors
A dirty humidifier can emit unpleasant odors. If you notice a musty or sour smell coming from your humidifier, it’s time to give it a thorough cleaning. Clean parts, including the water tank and mist nozzle, to eliminate any source of odor.
3. Decreased Performance
If your humidifier is not providing the desired humidity level, it could be due to dirt or mineral deposits hindering its performance. Cleaning the humidifier can help restore its functionality and ensure the output of clean mist.
4. Allergy or Respiratory Symptoms
Dirty humidifiers can release contaminants into the air, exacerbating allergies or respiratory issues. If you or your family members experience increased allergy symptoms or respiratory discomfort, consider cleaning your humidifier as it may be causing the problem.
Safety Precautions
While cleaning your humidifier, it’s important to follow these safety precautions:
1. Unplugging Before Cleaning
Always unplug your humidifier from the power source before starting the cleaning process. This ensures your safety and prevents the risk of electric shock or damage to the humidifier.
2. Avoiding Direct Spraying of Water or Cleaning Solutions
When cleaning the humidifier, avoid directly spraying water or cleaning solutions onto its electrical components or controls. Moisture can damage the electrical system and pose a safety hazard. Use a damp cloth or sponge instead.
3. Handling Chemicals with Care
If you are using cleaning solutions or descaling agents, handle them with care and follow the manufacturer’s instructions. Some chemicals may be hazardous if ingested or come into contact with your skin or eyes.
4. Properly Drying Parts Before Reassembling
Ensure that all components of your humidifier are thoroughly dry before reassembling them. Moisture can contribute to the growth of mold or bacteria, leading to potential health risks.
Maintenance Schedule
To help you stay on top of cleaning and maintenance for your humidifier, consider the following schedule:
Weekly Cleaning Tasks
- Clean the water tank, base, and mist nozzle using water and a soft brush or cloth. Remove any visible dirt or deposits.
- Rinse all the components thoroughly with clean water.
- Wipe down the exterior surfaces of the humidifier using a damp cloth.
- Ensure all parts are completely dry before reassembling.
Monthly Cleaning Tasks
- Perform a deep cleaning of your humidifier, following the steps mentioned earlier.
- Clean or replace any filters according to the manufacturer’s recommendations.
- Check for any signs of mold, mildew, or mineral deposits, and address them promptly.
Seasonal Maintenance
Before storing your humidifier for an extended period, perform a thorough cleaning. Follow the steps outlined in the regular cleaning process and ensure that all parts are completely dry. Properly pack and store your humidifier in a cool, dry place until the next use.
Care and Storage during Non-Use
If you plan to keep your humidifier unused for a period, follow these care and storage tips:
Draining and Drying Completely
Before storing your humidifier, make sure to drain any remaining water from the tank and base. Thoroughly dry all the components, ensuring no moisture is present. This prevents the growth of mold or bacteria during storage.
Properly Packaging and Storing
Store your humidifier in a sealed plastic bag or its original packaging to protect it from dust and moisture. Choose a cool, dry place for storage, away from direct sunlight or extreme temperatures.
Professional Cleaning or Maintenance
While regular cleaning can maintain the cleanliness of your humidifier, there may be instances where professional cleaning or maintenance is necessary.
When to Seek Professional Help
Consider seeking professional help in the following situations:
- If you are unsure about how to clean your specific type of humidifier.
- If you have tried regular cleaning techniques but are still experiencing issues with your humidifier’s performance or cleanliness.
Choosing a Reliable Service
When selecting a professional service for your humidifier’s cleaning or maintenance, consider the following:
- Look for reputable companies that specialize in humidifier maintenance and repairs.
- Read customer reviews and check their certifications or credentials.
- Inquire about the specific services they offer and their expertise in dealing with your humidifier’s make and model.
Costs and Benefits
The cost of professional cleaning or maintenance for your humidifier can vary based on various factors, such as the complexity of the job and the service provider’s rates. Consider the benefits of professional cleaning, such as expert knowledge and thorough cleaning, compared to the cost incurred.
In conclusion, regular cleaning and maintenance of your humidifier are essential for maintaining optimal performance and ensuring the delivery of clean, healthy mist. By following the guidelines, using the recommended materials, and staying consistent with your cleaning routine, you can enjoy the benefits of a well-maintained humidifier that provides fresh and comfortable air.